How does it work?
The add-on has two modes; Grid Mode (default) and Shrinkwrap Mode.
The manual processed for both has been best described in this video but is also described below.
Grid Mode
Advantages:
More accurate: it positions the source object vertices in the same direction as the faces of the target object.
Disadvantages:
More complex: adds an extra helper grid object to the scene.
If the source object is edited or copied, you will need to re-apply the operation.
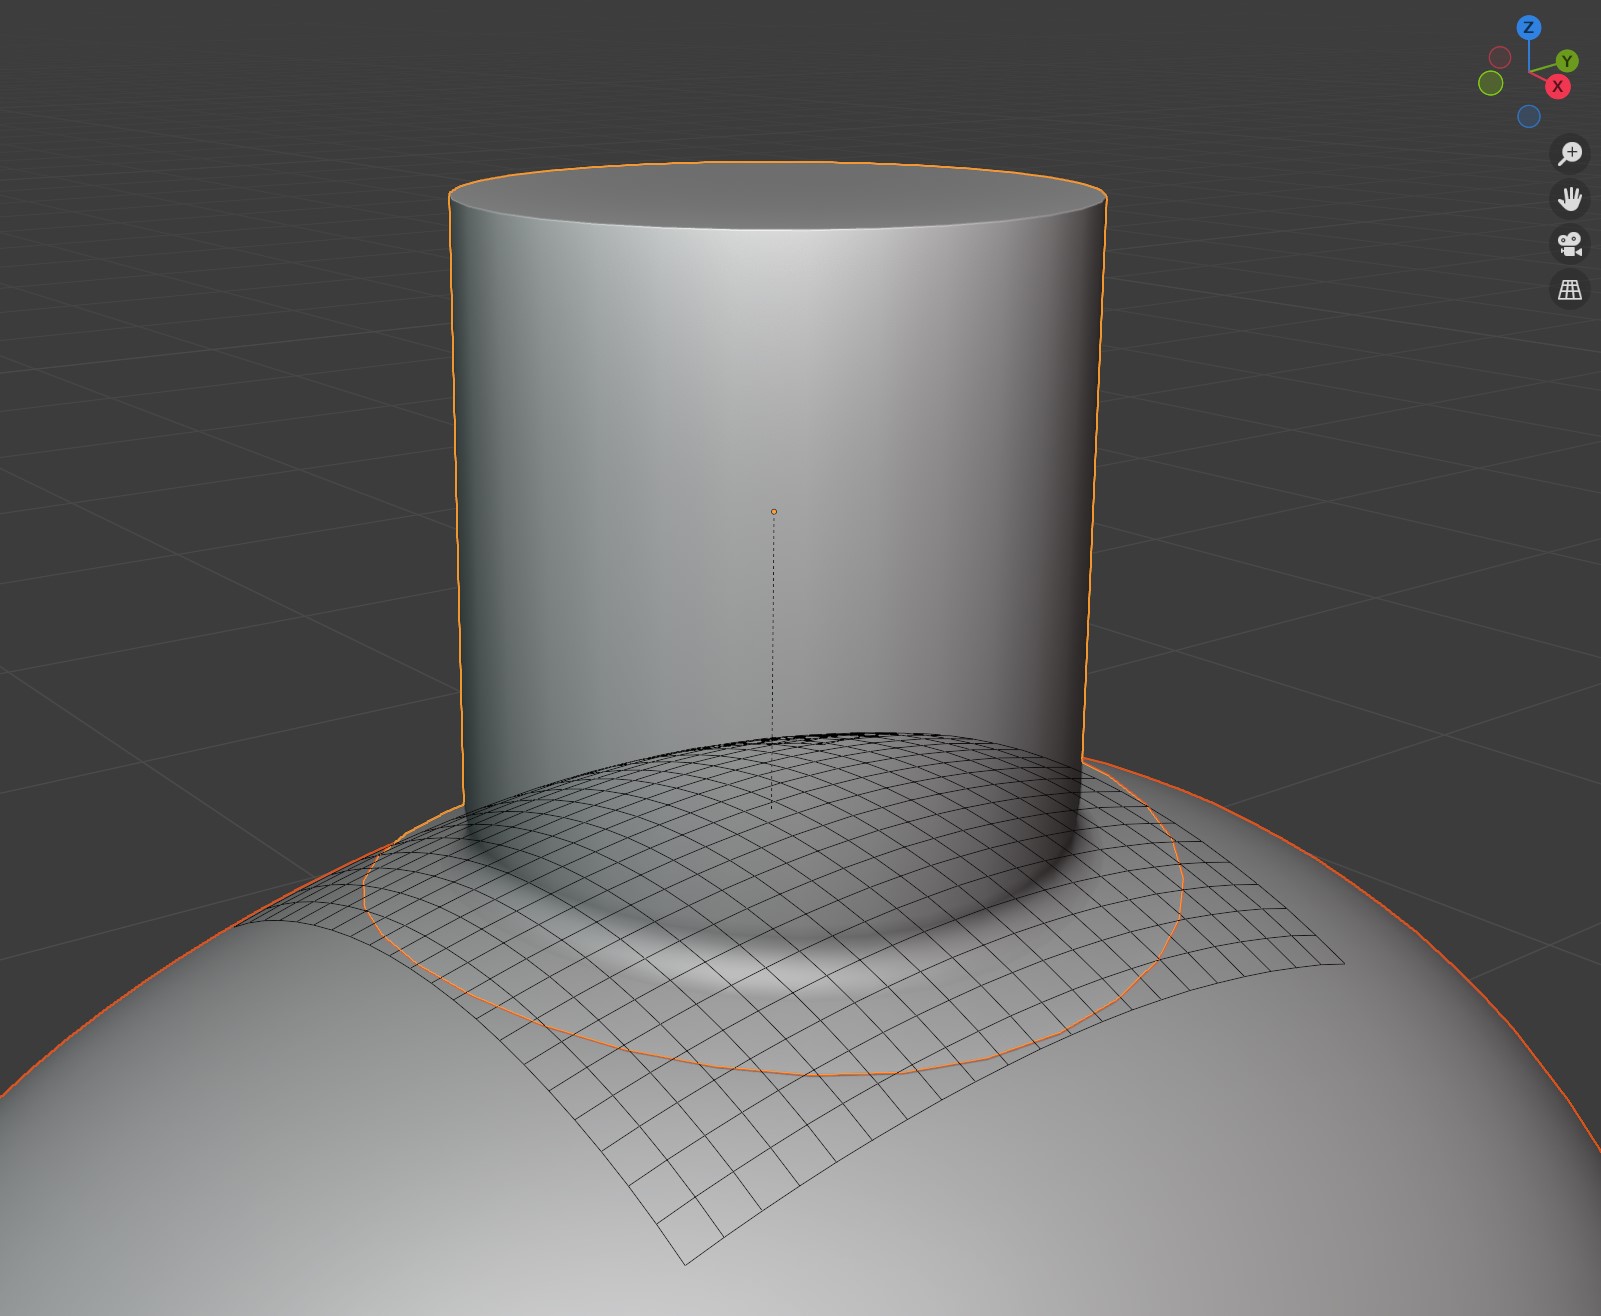
The add-on in Grid Mode, with the grid visible.
The add-on automatically creates a deformation grid object which is used to project the object to the surface of another using a Surface Deform Modifier. This grid object is hidden by default and can have its subdivisions configured.
It automates the manual process of:
Creating a deformation grid and aligning it to the base of the object.
Adding a Surface Deform Modifier and associating it with the Grid.
Adding a Shrink Wrap Modifier to the grid and associating it with that object.
Adding a Vertex Group weighting to the object from the bottom to the top to control the influence of the deformation.
The deformation grid is automatically deleted if the source object is deleted.
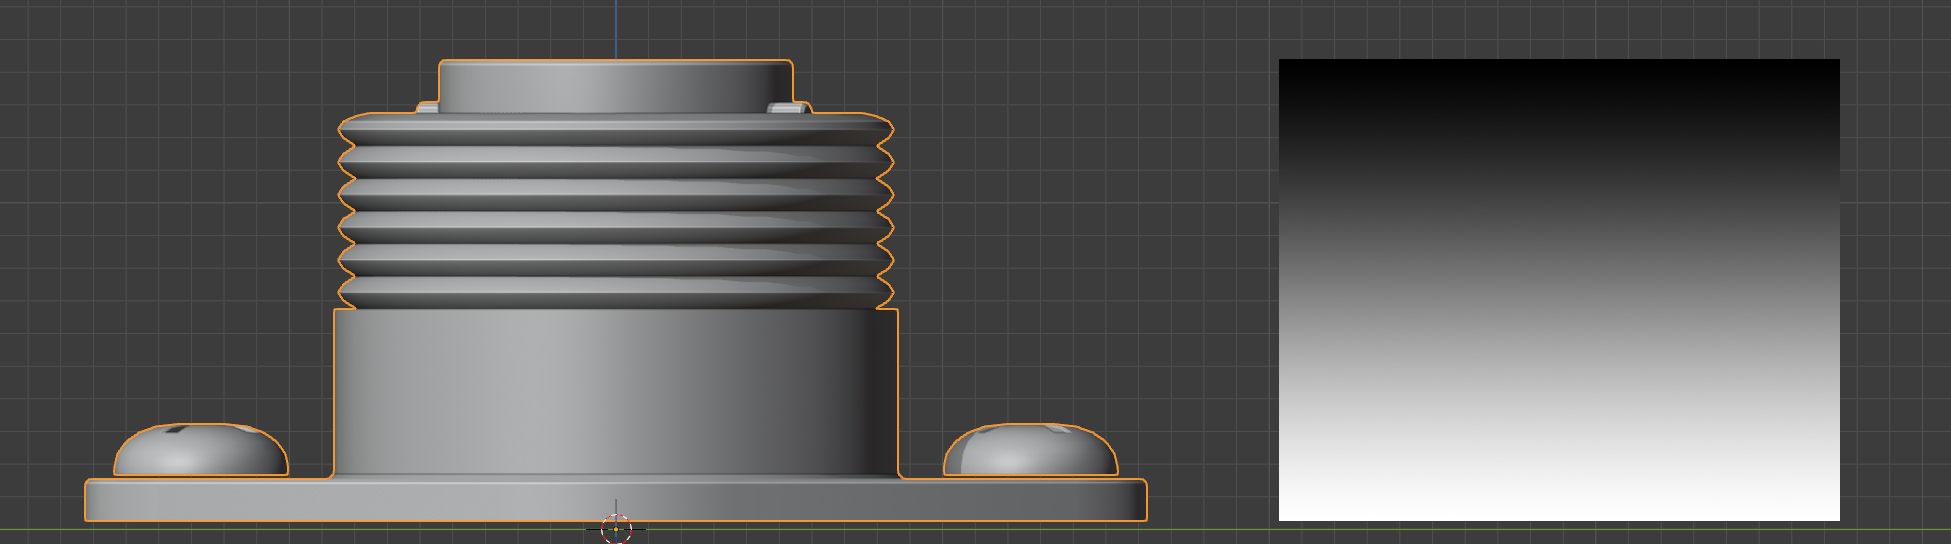
The default vertex group weighting.
Shrinkwrap Mode
Advantages:
Simpler, only a Shrink Wrap Modifier is added to the target object.
You do not need to re-run the operation when the object is edited.
Disadvantages:
Not as accurate; does not align vertices
It will flatten the lower parts of the object in many cases.
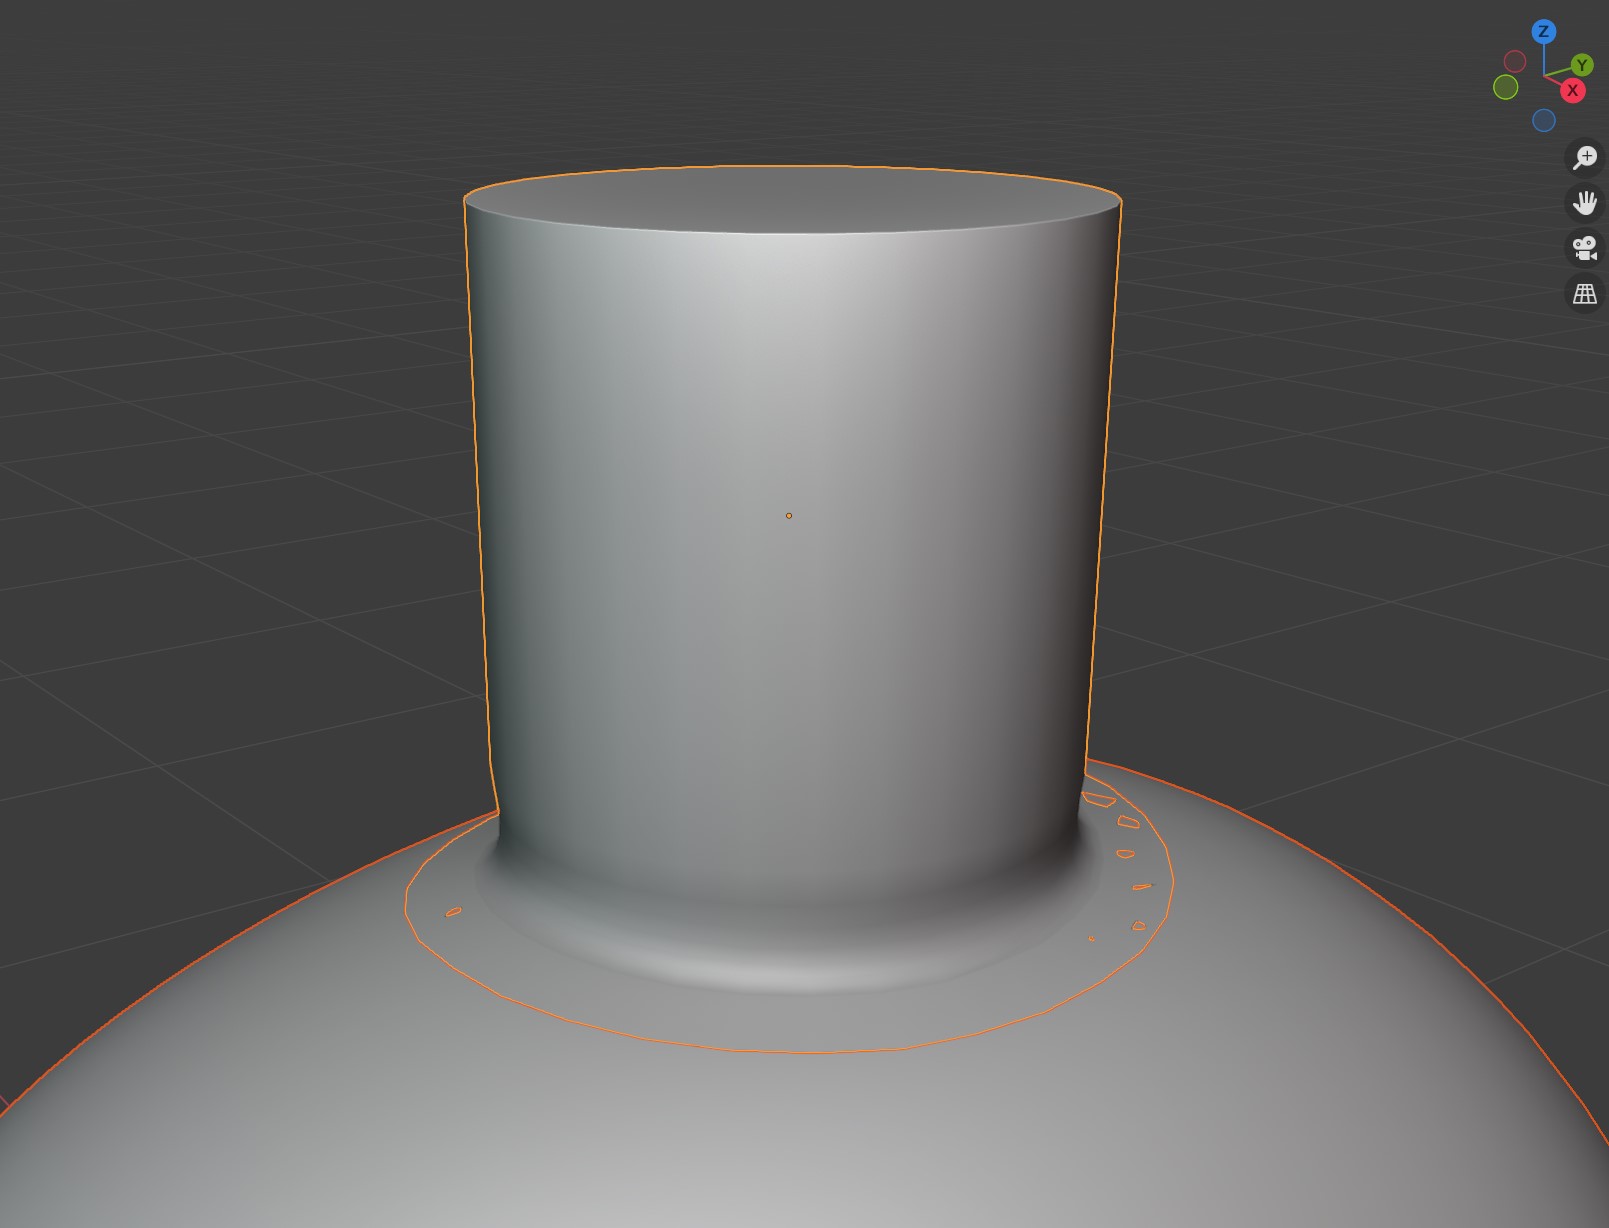
The add-on in Shrinkwrap Mode.
For the shrinkwrap modifier mode, it automatically:
Adds a Shrink Wrap Modifier to the mesh.
Adding a Vertex Group weighting to the object from the bottom to the top to control the influence of the deformation.
The default vertex group weighting.